DIY Manicure Guide: Salon-Quality Results at Home
There's nothing quite like the feeling of freshly manicured nails, but regular salon visits can be expensive and time-consuming. The good news? With the right tools, techniques, and a little practice, you can achieve professional-looking results from the comfort of your home. This comprehensive guide will walk you through every step of creating a salon-quality manicure, saving you time and money while keeping your nails looking flawless.
Essential Tools and Products
Before starting, gather these essential items to ensure a professional result:
Must-Have Tools
- Nail clippers: For shortening nails to desired length
- Nail file: Glass or crystal files are gentlest on nails
- Buffer: For smoothing nail surface and adding shine
- Cuticle pusher: Metal or wooden tool for pushing back cuticles
- Cuticle nipper: For removing excess dead skin (optional)
- Nail brush: For cleaning under nails and removing debris
- Small bowl: For soaking nails
- Cotton pads and swabs: For cleanup and polish removal
Essential Products
- Nail polish remover: Acetone-free is gentler on nails
- Cuticle oil or cream: For moisturizing and nourishing cuticles
- Hand scrub: For exfoliation
- Hand cream or lotion: For deep moisturization
- Base coat: Protects nails and prevents staining
- Nail polish: Your chosen color
- Top coat: Seals and protects polish
- Quick-dry drops: Optional, but speeds up drying time
Step-by-Step Manicure Process
Step 1: Remove Old Polish
Start with a clean slate. Soak a cotton pad with nail polish remover and hold it against each nail for 5-10 seconds to allow the remover to break down the polish. Wipe away from cuticle to tip in one smooth motion. For glitter polish or gel, you may need to wrap nails in remover-soaked cotton and foil for 10 minutes to properly dissolve the polish.
Pro tip: Use acetone-free remover if you have dry or brittle nails, as acetone can be drying. However, acetone-based remover works faster for stubborn polishes.
Step 2: Shape Your Nails
If your nails are long, clip them to your desired length first, leaving a bit extra since filing will shorten them slightly. File nails in one direction only (not back and forth, which causes splitting) using gentle strokes. Choose your preferred shape:
Square: File straight across the tip, then slightly soften corners. Modern and classic.
Round: File straight across, then round edges following your fingertip's curve. Natural and low-maintenance.
Oval: File sides at an angle toward the center, creating an elongated oval. Feminine and elegant.
Almond: File sides at a steeper angle to create a tapered point, then round the tip. Dramatic and lengthening.
Squoval: Square with slightly rounded corners. Trendy and versatile.
Pro tip: Keep all nails the same length and shape for a polished, professional appearance. Use a glass or crystal file, which is gentler on nails than traditional emery boards.
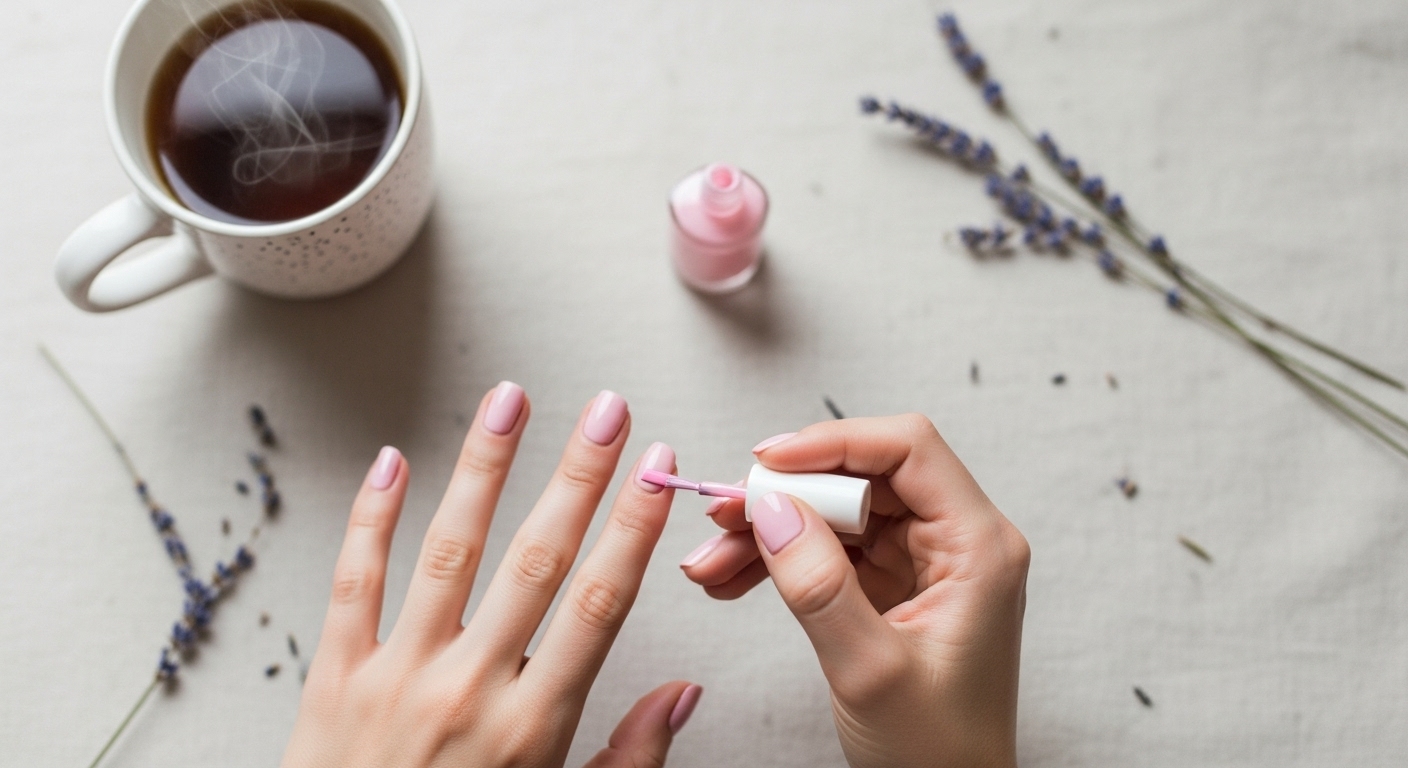
Step 3: Soak Hands
Fill a small bowl with warm (not hot) water and add a drop of gentle soap or a splash of olive oil. Soak your hands for 3-5 minutes to soften cuticles and clean under nails. This step also makes cuticle work easier and more comfortable.
Pro tip: Don't soak too long—over-soaking causes nails to absorb water, which leads to faster chipping of polish later. Also, add a few drops of essential oil like lavender or lemon for aromatherapy benefits.
Step 4: Exfoliate Hands
While hands are damp, apply a hand scrub and massage gently in circular motions, paying special attention to knuckles and the backs of hands where skin tends to be drier. This removes dead skin cells, leaving hands soft and smooth. Rinse thoroughly and pat dry with a clean towel.
DIY scrub: Mix sugar with olive oil and a drop of your favorite essential oil for an effective, budget-friendly exfoliant.
Step 5: Push Back Cuticles
Apply cuticle remover or cuticle oil to each nail and let it sit for 30-60 seconds to soften cuticles. Using a cuticle pusher, gently push back cuticles at a 45-degree angle, using small circular motions. Be gentle—aggressive pushing can damage the nail matrix (where nail growth occurs).
Important: Never cut living cuticles! Only trim loose, dead skin (hangnails) with cuticle nippers if necessary. Cutting cuticles damages the nail's natural protective barrier and can cause infections.
Pro tip: Push cuticles back after every shower to maintain neat nails between manicures. This makes your next manicure easier.
Step 6: Clean and Prep Nails
Use a nail brush to clean under nails and remove any remaining cuticle remover. Wash hands thoroughly and dry completely. Buff the nail surface gently using a buffer block—this smooths ridges and creates better adhesion for polish. Don't buff too much; once a month is sufficient to avoid thinning nails.
Wipe nails with a cotton pad soaked in alcohol or nail polish remover to remove any oils or residue. This crucial step ensures polish adheres properly and lasts longer.
Step 7: Moisturize Hands
Apply a generous amount of hand cream and massage into hands, wrists, and arms. Focus on knuckles and cuticles. Use upward strokes toward the heart to stimulate circulation. Take your time with this step—it's the pampering part of your manicure!
Pro tip: Wipe off any cream that gets on your nails using a cotton pad with polish remover. Polish won't adhere to oily nail surfaces.
Step 8: Apply Base Coat
A base coat is non-negotiable for a professional manicure. It protects nails from staining, fills in ridges, and helps polish adhere better and last longer. Apply a thin, even coat, getting as close to cuticles as possible without touching them. Let it dry for 2 minutes.
Types of base coats:
- Ridge-filling: Smooths uneven nail surfaces
- Strengthening: Contains protein or calcium for weak nails
- Peel-off: For easy polish removal without remover
- Clear: Basic protection for healthy nails
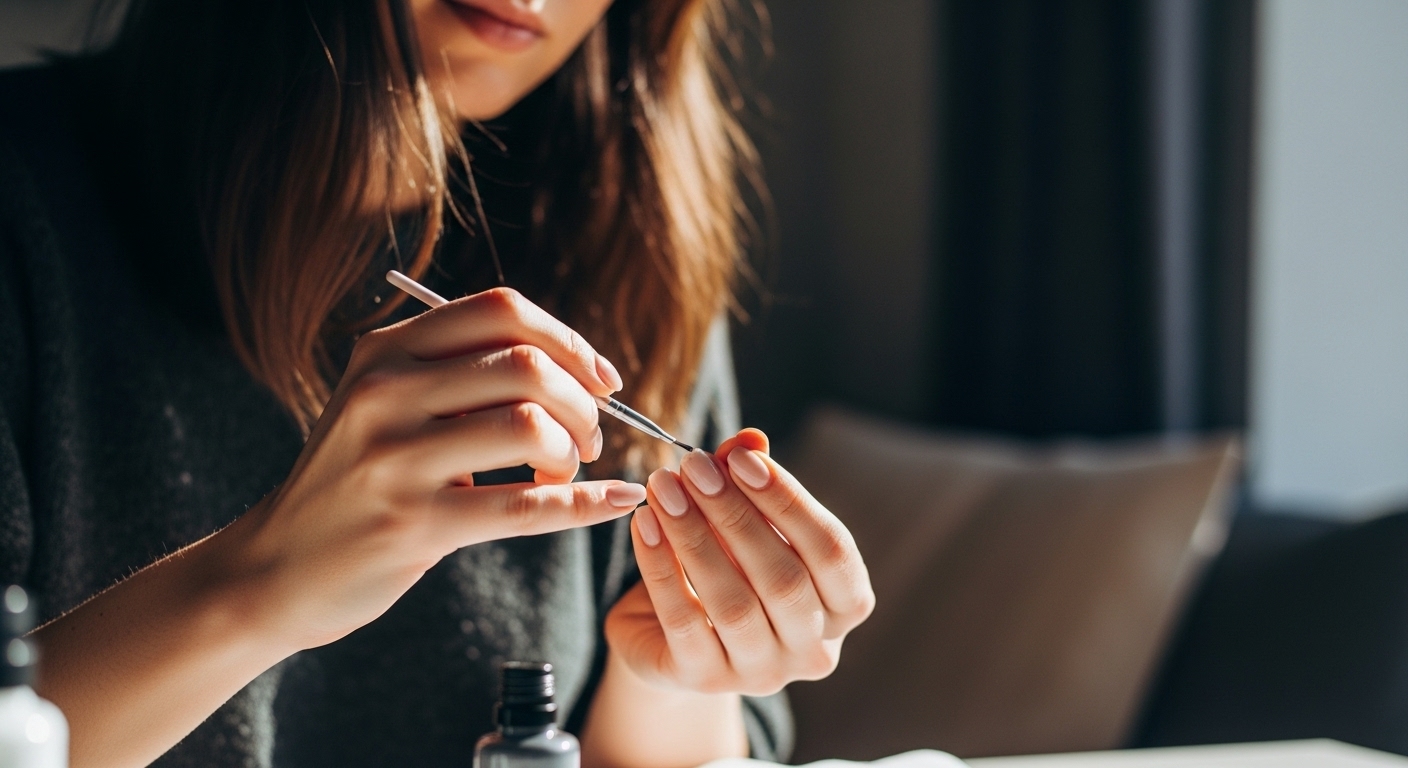
Step 9: Apply Nail Polish
Now for the fun part! Polish application technique makes the difference between amateur and professional results. Follow these steps:
First coat:
- Roll the polish bottle between your hands (don't shake—this creates bubbles)
- Wipe excess polish from the brush on the bottle neck
- Place the brush just above your cuticle in the nail center
- Push the brush toward the cuticle without touching it
- Brush down to the tip in one smooth stroke
- Do one stroke on each side of the nail
- The first coat should be thin and may look streaky—that's okay!
Second coat:
Wait 2-3 minutes for the first coat to dry to touch. Apply a second coat using the same technique. This coat can be slightly thicker for full opacity. For very sheer colors, you may need a third thin coat.
Pro tips for perfect application:
- Less is more—thin coats dry faster and look better than thick coats
- Leave a tiny gap at the cuticle to prevent flooding
- Cap the free edge (brush over the tip) to prevent chipping
- If you make mistakes, wait until polish is dry, then clean up with a small brush dipped in remover
- For steady application, rest your painting hand on a table and brace your pinkie against your other hand
Step 10: Apply Top Coat
Once your color is dry to touch (2-3 minutes), apply a generous layer of top coat. This seals the color, adds shine, and dramatically extends the life of your manicure. Make sure to cap the free edge here too. Top coat is the most important step for longevity!
Types of top coats:
- Glossy: Traditional shiny finish
- Matte: Trendy flat finish
- Quick-dry: Speeds up drying time significantly
- Gel-effect: Mimics gel manicure shine
Pro tip: Reapply top coat every 2-3 days to maintain shine and prevent chipping. This simple step can extend your manicure by a week!
Step 11: Clean Up
Once polish is completely dry (wait at least 10-15 minutes), clean up any polish on your skin. Dip a small flat brush or cotton swab in nail polish remover and carefully trace around each nail to remove any mistakes. A makeup brush works perfectly for this!
Step 12: Finish with Cuticle Oil
Apply cuticle oil to each nail and massage into cuticles and nail beds. This keeps cuticles soft, prevents hangnails, and adds a beautiful finishing touch to your manicure. Apply cuticle oil daily for healthiest nails and cuticles.
Advanced Tips for Long-Lasting Polish
Proper Drying
Polish may feel dry to touch after 5-10 minutes, but it's not fully cured for 2-24 hours depending on the formula. To avoid smudges:
- Don't do anything hand-intensive for at least 30 minutes
- Use quick-dry drops or spray to speed up surface drying
- Dip nails in ice water for 3 minutes after polishing to help set
- Wait at least 2 hours before showering or washing dishes
- Avoid hot water for the first 12 hours as it can cause bubbling
Making Polish Last Longer
Avoid water exposure: Wear gloves when washing dishes, cleaning, or doing water-intensive activities. Water causes polish to expand and contract, leading to chips.
Be gentle with your hands: Nails are jewels, not tools! Use the pad of your finger rather than the nail tip for tasks like opening cans or typing.
Moisturize regularly: Apply hand cream and cuticle oil multiple times daily. Dry nails are brittle and chip more easily.
Touch up chips immediately: Dab a tiny bit of matching polish over chips and seal with top coat to extend your manicure.
Reapply top coat: Add a layer of top coat every 2-3 days to seal in color and maintain shine.
Nail Health Basics
Strengthening Weak Nails
If your nails are weak, brittle, or peeling:
- Take biotin supplements (consult doctor first)
- Use strengthening treatments between manicures
- Keep nails shorter until they strengthen
- Eat protein-rich foods—nails are made of protein
- Stay hydrated—drink plenty of water
- Give nails breaks from polish every few weeks
- Avoid harsh chemicals and excessive water exposure
Preventing Yellow Stains
Dark polish can stain nails yellow, especially reds and berries. Always use base coat to prevent staining. If nails are already stained, soak them in a mixture of hydrogen peroxide and baking soda, or use a whitening toothpaste as a scrub.
Dealing with Nail Problems
Brittle nails: Moisturize constantly, use strengthening treatments, wear gloves during chores
Ridges: Use ridge-filling base coat, consider vitamin deficiency, stay hydrated
Peeling: Avoid water exposure, use nail hardener, moisturize with cuticle oil
Hangnails: Never pick or bite! Trim with clean nippers, apply cuticle oil multiple times daily
Trending Nail Looks to Try
French Manicure
A classic that never goes out of style. Use nude or sheer pink as base, then carefully paint white tips. Modern twists include colored tips, glitter tips, or very thin French lines.
Accent Nails
Paint all nails one color except the ring finger, which gets a contrasting color, glitter, or design. Simple yet stylish!
Ombré
Blend two colors using a makeup sponge for a gradient effect. Requires practice but looks stunning!
Minimalist Designs
Simple dots, lines, or shapes using a dotting tool or thin brush. Clean, modern, and easy to do at home.

Conclusion
With practice, patience, and the right tools, you can absolutely achieve salon-quality manicures at home. Not only will you save money, but you'll also have the convenience of beautiful nails whenever you want them. Remember, perfect application comes with practice—don't be discouraged if your first attempts aren't flawless. Each manicure will be better than the last as you develop your technique and find what works best for you. Enjoy the process, experiment with colors and designs, and most importantly, have fun pampering yourself! Your nails are an expression of your personal style—make them shine!